Minnesota Clay Co. USA Technical Info - Easy Teapot Project |
| Want to impress your friends, confuse your critics and enchant the rest of us? |
| |
| You need to start making teapots. |
| |
| "But, I tried making a teapot once..." you protest,
"...and it came out looking like a dozing elephant!" |
| |
The dozing elephant teapot is a standard form for
the learning potter. The trunk (spout) hangs low, allowing the
filled pot to dribble tea when filled to capacity. The weary body
slumps under the force of gravity.
As attractive as this style can be, a nice round functional teapot
can be much more rewarding. And guess what? If you can make a nice
round bowl, you can make a nice round teapot.
This is not cheating: instead of trying to make a perfect sphere
on the wheel as your teapot body, make two pretty good semi-spheres
(aka: bowls) and knit them together.
Here we go:
|
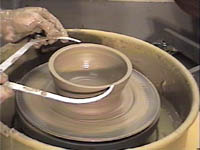
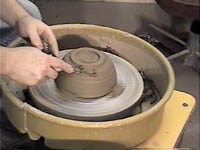
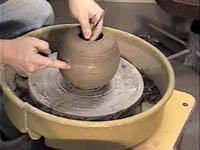
| Step 1: Throw two bowls, using one and a half pounds (@
.75 kilograms) for each bowl. Leave your rims slightly thicker than
normal to facilitate assembly later. |
  |
| | |
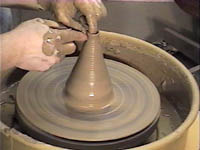
| Step 2: Throw your spout.
|
 |
| | |
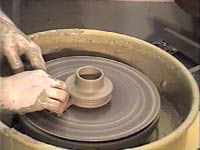
| Step 3: Throw your inset lid. The lid is thrown
upside-down. |
 |
| | |
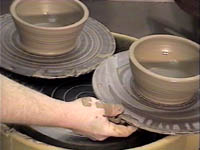
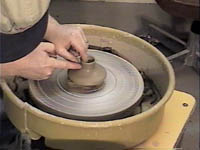
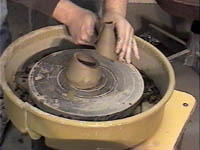
| Step 4: Prior to the leather-hard stage, trim a foot ring
into the bowl that will serve as the base portion of the teapot. |
 |
| | |
| Step 5: Trim your inset lid. You can add a knob at this
stage as well. A knob is added by sprigging a circular coil of clay
to the top of the lid, then the soft clay coil is formed into shape
by "throwing it" on top of the trimmed lid. |
 |
| |
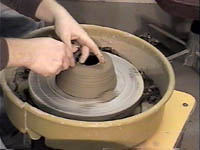
| Step 6: Using your inset lid as a template, trim the
opening into the bowl that will serve as the top portion of your
teapot. |
 |
| |
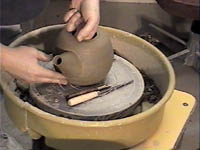
| Step 7: Score the rims of the two bowls and apply liberal
amounts of slip to the scored areas. |
 |
| |
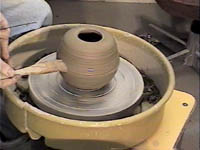
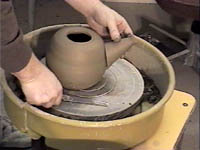
| Step 8: Assemble the two halves. Use a tool (like the
handle of a fettling knife shown here) to exert pressure from inside
the assembled pot in order to secure the joined seam. |
  |
| |
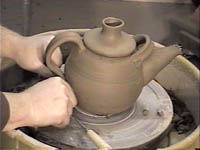
| Step 9: Cut the spout off at an angle as shown in the
first illustration below. Locate the spout on the side of the
teapot. The idea is to evaluate the best spot for it. The top of the
spout should be as high as the highest possible level of liquid in
the teapot. |
  |
| |
| Step 10: Trace around the ideal location for the spout
using a pencil, needle tool or a knife. |
 |
| |
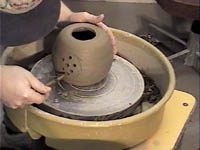
| Step 11: Drill holes inside the traced area - these will
serve as your strainer holes.
|
 |
| |
| Step 12: Apply your spout to the teapot, be sure to score
and slip the joined areas. |
 |
| |
| Step 13: Apply a handle or handles. |
 |
| |